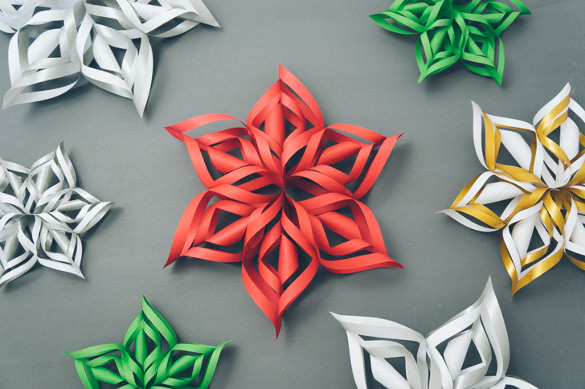
If you like original, handmade Christmas decorations, I suggest you take a short break to learn how to make those wonderful 3D paper snowflakes. What do you say? Does it sound exciting?
I must say that it’s not the simplest thing to do, but it’s not that complicated either, especially if you’re a creative person.
There are those common paper snowflakes that we all know to cut off since we were children because we wanted to stick them on our windows.
And if you remember those years of childhood and all those handcrafted decorations, surely you will enjoy the video tutorial below that shows the steps to make a beautiful ornament for your Christmas tree or even for decorating the windows of your house since the best time of the year is quickly approaching.
So, here’s what you’ll need in order to start making a 3D paper snowflake:
- Sheets of white or colored paper
- A pencil
- An eraser
- A ruler
- Paper glue
- A stapler
The only thing that’s left to do is to prepare all the above items on the list, and you are ready to learn how to make the wonderful 3D paper snowflakes.
I have also prepared for you four simple steps that will help you create your snowflakes. Let’s take action!
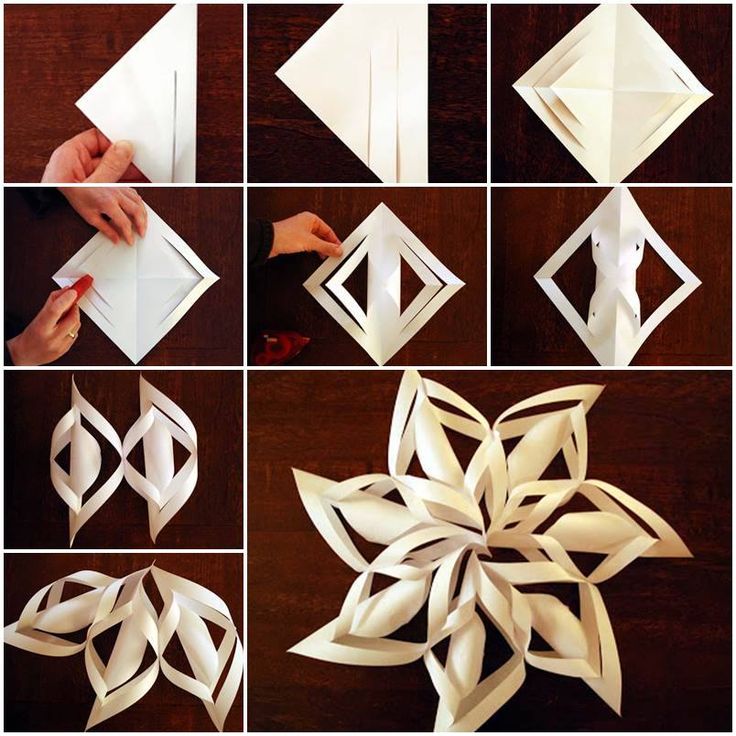
Step 1
Begin with a square piece of paper. Fold it into a triangle by folding in half once. Then, take this triangle and fold it in half, so you obtain a smaller one.
Step 2
Take the triangle you obtain and cut three slits starting at the hypotenuse edge. Be careful though, because you have to stay away for the folded edge that has to remain uncut together with the furthermost leg of the triangle, which is the vertical side of what forms the right angle.
Step 3
You’ve done all the folding. Now it’s time for you to unfold the triangle. From the inside of the square, bend the piece of paper to obtain what looks like a cannoli and then tape. Next, flip the paper over and do the same with the next strips. Continue until no strips remain. Repeat the three steps until you have a total of six pieces.
Step 4
Now that you’ve obtained your six pieces, put them all together and staple their ends. After you’ve stapled them, let then fan out and use the stapler again. Link the piece that forms a cross to the one next to it at the piece that forms a cross. You have to repeat the process to each of the individual papers. This last step is highly important because it stabilized the snowflakes form.
Congratulations! You’ve finished your 3D paper snowflake. Hurry up and hang it on your window so everyone can admire it!
Also, if it seems easier for you, make sure you follow the instructions in the video below and the success will be guaranteed. You’ll even be able to teach the little ones how to create these special Christmas ornaments.
These three-dimensional paper snowflakes look absolutely gorgeous hanging in a window or on a wall. It’s fun for kids and adults alike, and quite easy to make. Some people like them for Christmas, but others may like them anytime! Which category do you belong to?